PLX-CRSS12
Configuración
Connections
Normally the PLX-CRSS12 will be used as a Digital Vinyl System (DVS) also known as Timecode mode. Up to 4 x PLX-CRSS12 units may be used at the same time controlling 4 software decks.
For each timecode Input (PLX-CRSS12) a stereo input and a stereo output channel is required.
E.g. for a 2 x PLX-CRSS12 setup a 4in/4out USB Audio Interface or a 4in USB 2 channel DVS Ready mixer is required at least.
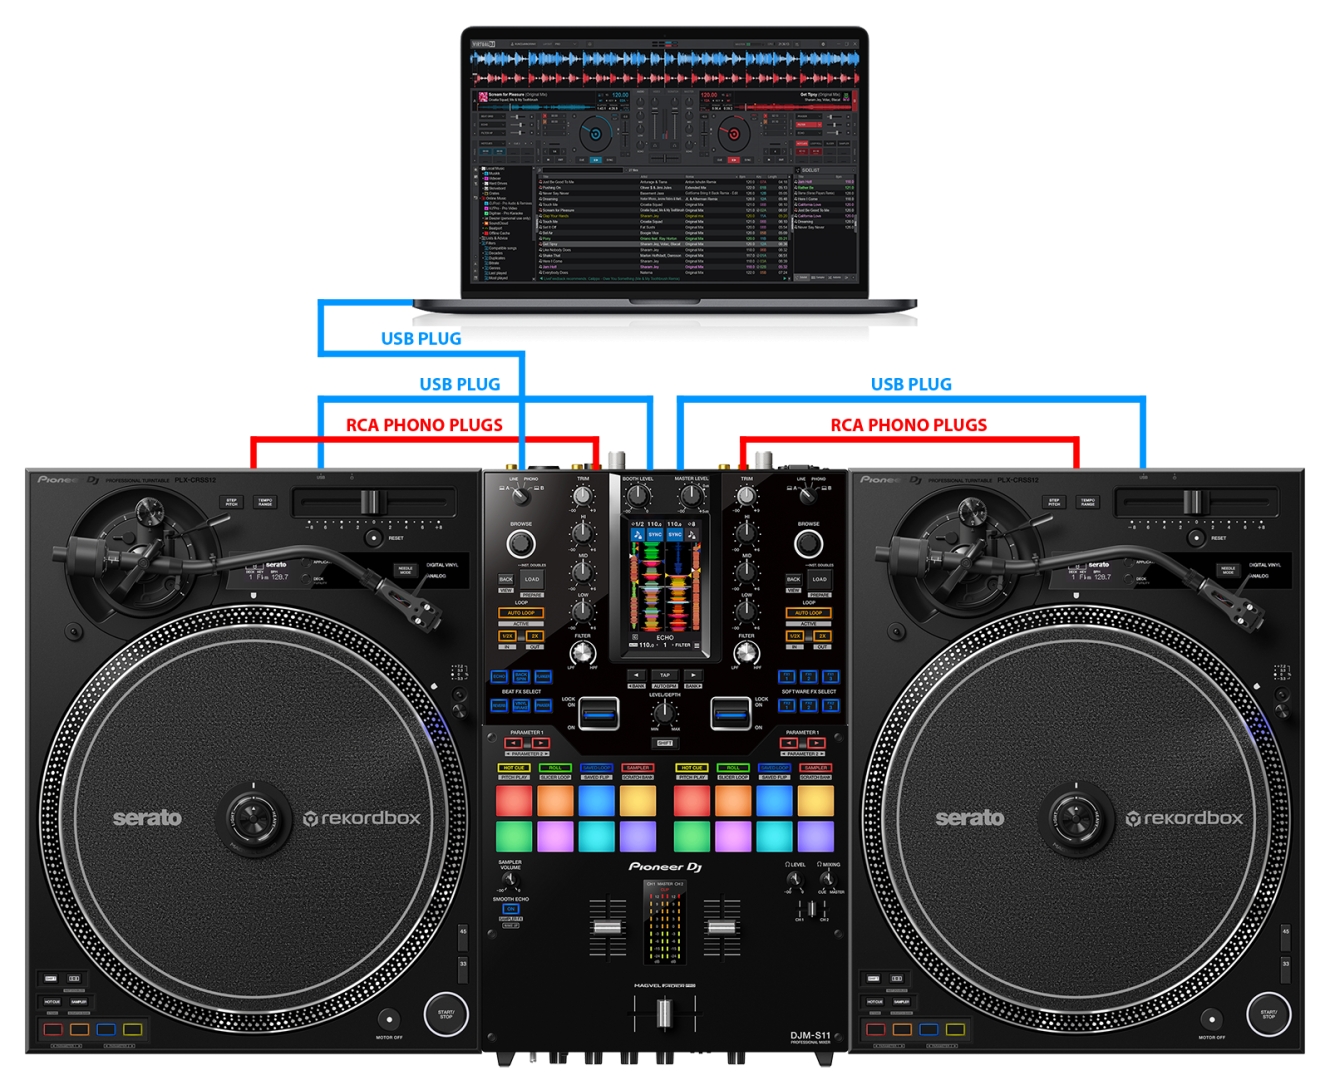
Connect the PLX-CRSS12 units to the audio interface (or mixer) with the provided RCA phono plugs.
Connect the PLX-CRSS12 units to your computer with the provided USB cables either directly, or through a USB hub.
The following diagram demostrates a connection of 2 x PLX-CRSS12 units with a DJM-S11 mixer.

Firmware & Drivers
Firmware: At the moment this manual was written, no available firmware update exists for PLX-CRSS12.
However, always check for any firmware updates on Pioneer Dj website.
Drivers : No Driver software is required for the PLX-CRSS12 to be installed.
The device is USB class compliant and your Operating System will auto-install the necessary Driver when connected via USB cable.
VirtualDJ Setup
(in case you have not done already)
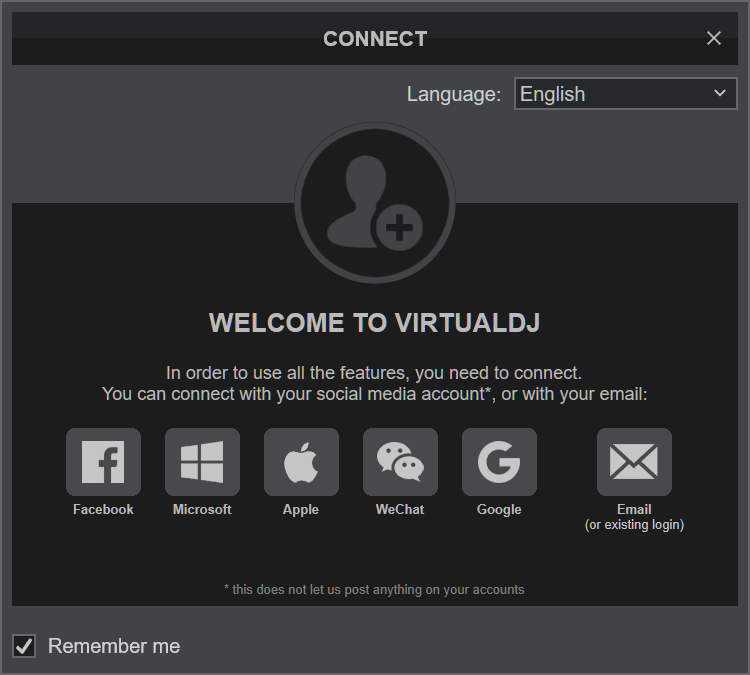
Once VirtualDJ is launched, a Login Window will appear. Please login with your preferred method from the ones provided.
A Pro Infinity or a Pro Subscription License is required to fully use the Pioneer PLX-CRSS12.
Without any of the above Licenses, the controller will operate for 10 minutes each time you restart VirtualDJ.
Buy a license

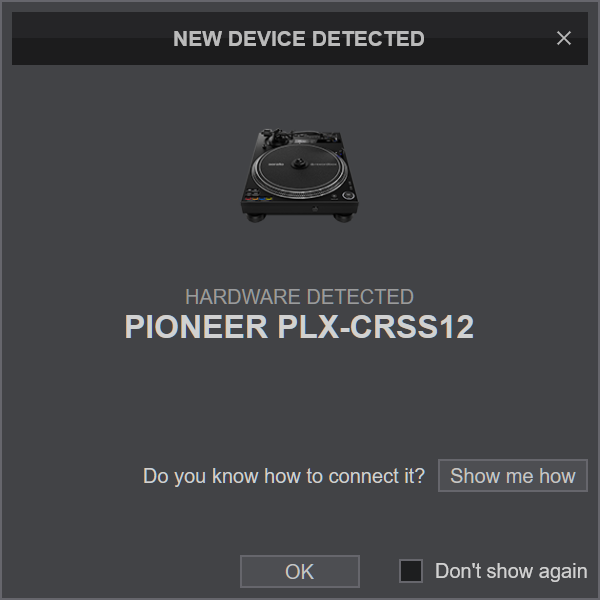
Click to OK.

MIDI Operation
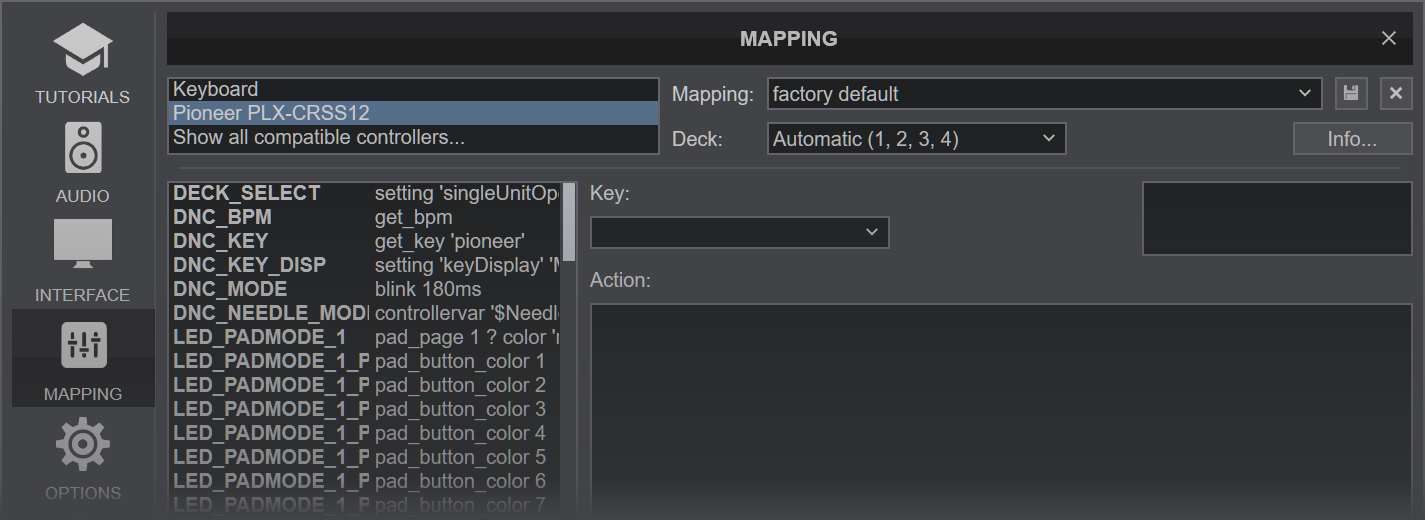
The unit should be visible in the CONTROLLERS tab of Config and the “factory default” should be available/selected from the Mappings drop-down list. The factory default Mapping offers the functions described in this Manual, however those can be adjusted to your needs via VDJ Script actions.

Note that each unit offers 4 Hardware Layers and will be assigned to Decks 1,2,3,4 by default.
The hardware layer (which VirtualDJ deck the unit is going to control) can be set by pressing the "DECK" button on each unit, until the screen shows the desired deck number.
Find more details at VDJ Pedia
AUDIO Setup
The PLX-CRSS12 is not offering any pre-defined audio configuration, as no built-in audio interface is available. Depending on the used USB DVS-ready sound interface or DVS-ready mixer, you may have to manually create the necessary audio configuration (in case those don’t offer a pre-defined Timecode configuration).
For further software settings please refer to the Manuals of VirtualDJ.


