


Pulsar
Configuración
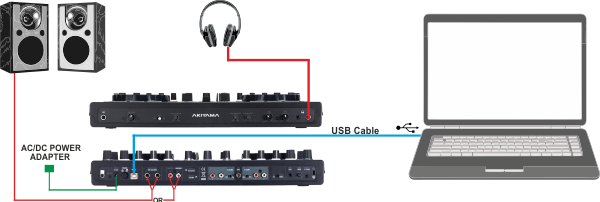
Step 1. Connections
- Connect the Akiyama Pulsar with your computer using the provided USB cable.
- Connect your Headphones to the front socket of the unit and your amplifier/amplified speakers to the Master Out socket at the rear side using an RCA cable.
- Connect the unit with an AC Power Outlet using the provided AC/DC Power Adapter.
- Power on the unit after all the above connections are done.
Step 2. Drivers
Windows only : Install the Akiyama ASIO Drivers from http://www.akiyamadj.com/akiyama+pulsar+2+channels+midi+controller-p-PULSAR.html?cPath=115_117
No Drivers is required to be installed for Mac OSX computers
Step 3. VirtualDJ Setup
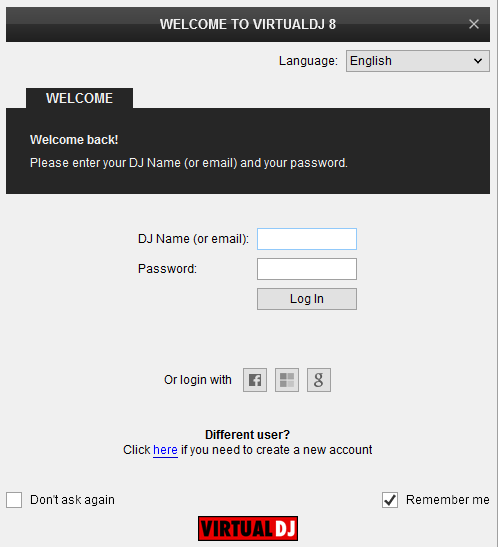
Once VirtualDJ 8 is opened, a Login Window will appear. Login with your virtualdj.com account credentials.
A Pro Infinity or a Pro Subscription License is required to use the Akiyama Pulsar. Without any of the above Licenses, the controller will operate for 10 minutes each time you restart VirtualDJ 8.
https://virtualdj.com/buy/
Detection Window
Click to “Use Soundcard”. VirtualDJ will automatically create the necessary audio configuration. Speakers need to be connected to the rear side of the unit in this case.
Click to OK
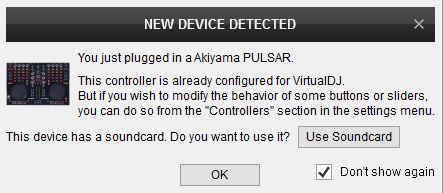
The unit is now ready to operate with VirtualDJ